
Composr Supplementary: Sending E-mail Newsletters in Composr Part 1
Written by Steve Jarvis, Sponsored by Arvixe hosting
Newsletter administration icons in Composr
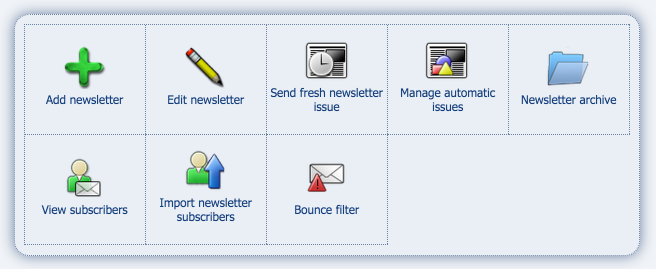
(Click to enlarge)
Sending out a custom built Newsletter in Composr
The first option is to be able to send out a newsletter in the same way you would if you used an external program. Just like using an external system, the more technical knowledge you have regarding HTML and CSS then the nicer your e-mail will look.The great thing about this system for websites who only send out intermittent e-mails such as an update once in a while then this option is extremely useful. It's also very easy to use and if you have the content already written it's a quick process.
Firstly go to Admin Zone > Tools > Newsletter > Send fresh newsletter issue. This will take you to the straightforward form to fill in.
Newsletter form in Composr
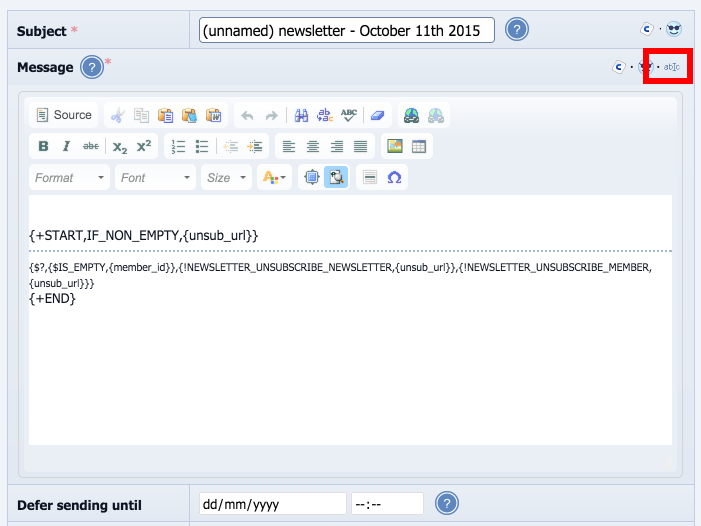
(Click to enlarge)
It is worth noting that the standard format for the e-mail will include a site logo at the top of the e-mail above any text or code which you input into this area. If you don't wish this to appear you will need to build a new mail template or edit the existing one. This is outside the scope of this tutorial. If you wish to upload a custom logo you need to edit the logo/standalone_logo_logo file in the Manage theme images section for your theme.
Below the main text box are options to set a delayed time to deliver your e-mail at a set time. This is useful if you write an e-mail in the evening but want it to be delivered during peak traffic hours for example. This will require you to set up Cron for your site or the timer will not work. I have previously written a tutorial for setting up timed content for Composr which I recommend reading if you are planning to delay the delivery time of your e-mail.
The next two boxes deal with the display e-mail and name which the recipient will see. It goes without saying the return e-mail address must be correct and a genuine e-mail address. The 'from' name is the name you wish the recipient to see in their inbox.
The next option is a checkbox to allow you to only send HTML versions and not a plain text version. If your layout is very complex then this is a recommended option as the plain text version may look odd.
The next option is a Priority level which will be displayed to the recipient if their e-mail software supports this.
The next section allows you to choose which usergroups you wish to send the e-mail to. This could be the entire site member list to a limited group or perhaps a staff only e-mail. This section also allows you to upload a CSV file of users to send the e-mail to.
The last option before previewing the e-mail is which template you wish to use. In most cases there will only be one option here, unless you have created more mail templates. Once you have completed all of the form you can preview how the e-mail will look in both HTML and plain text format. If the e-mail looks okay then you can click Proceed to dispatch the e-mail to those members you selected.
Part two of this tutorial will discuss sending automated and periodic e-mails through the Composr e-mail system.
Feedback
Please rate this tutorial:
Have a suggestion? Report an issue on the tracker.