
Composr Supplementary: Editing Site-Wide Privileges in Composr
Written by Steve Jarvis, Sponsored by Arvixe hosting
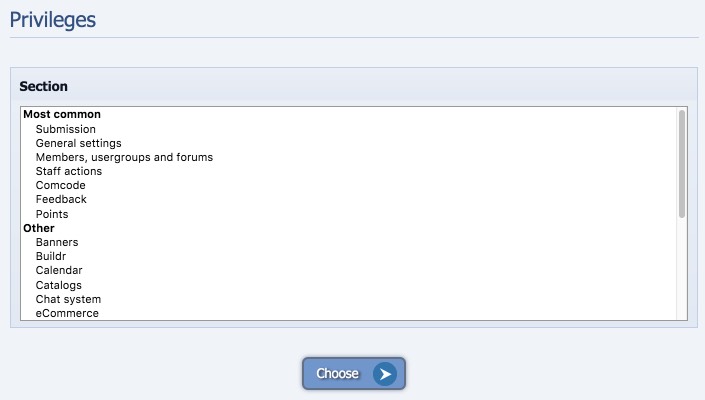
Choosing a privileges section to manage
(Click to enlarge)
Composr boasts a detailed section to edit all of the privileges associated to all of your usergroups. This is titled "Privileges" and can be found in the Security section of the Admin Zone. Once you arrive on the first global privileges screen you are shown a menu of different sections you can tailor the permissions in. These include:
- Submission – Deals with what areas each usergroup can submit content to
- General settings – covers a range of settings such as bypassing post flood control among others
- Members, Usergroups and forums – Covers a range of options such as the right to delete their own account and close their own topics
- Staff actions – Covers whether users can access the site when closed and which staff notifications they see
- Comcode – Which usergroups can use various Comcode options
- Feedback – Whether users can comment or rate content
- Points – Who can give points and who can they give them to
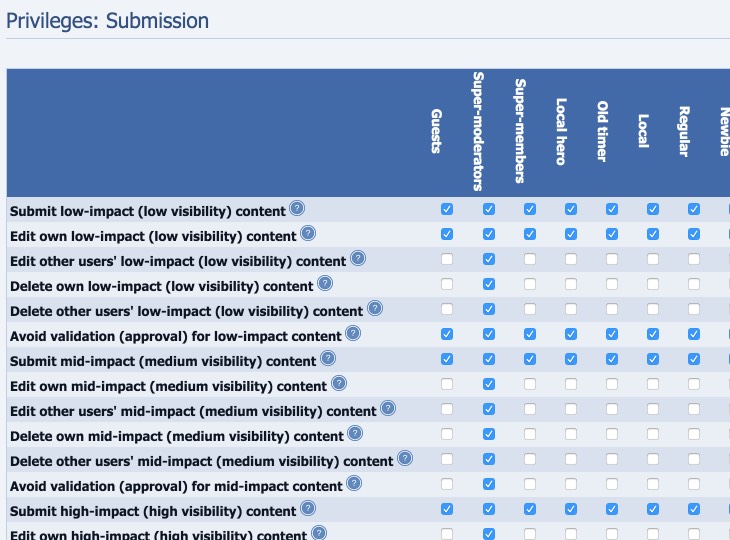
Setting privileges
(Click to enlarge)
Within this and some other sections where these options are not always really clear there is a Help bubble which will explain what the option will do. This is indicated by a question mark after the title text for each option.
Make sure you take note of the options you are setting because if these are set incorrectly you can lock members out of your site.
Feedback
Please rate this tutorial:
Have a suggestion? Report an issue on the tracker.