
Composr Supplementary: Changing the Composr Forums
Written by Jim Davidson, Sponsored by Arvixe hosting
As my test site is going to be a community, we need somewhere to hang out and exchange views and ideas, the ideal place is a forum.In the “Setup” wizard I opted to create a community and Composr included a forum for me.
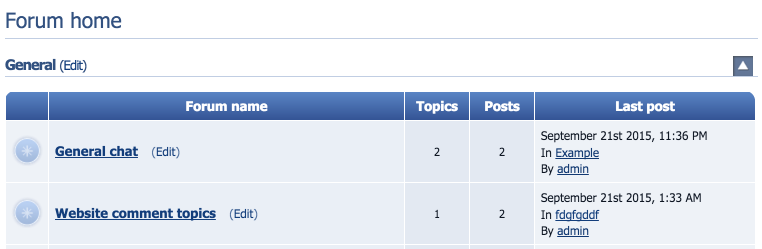
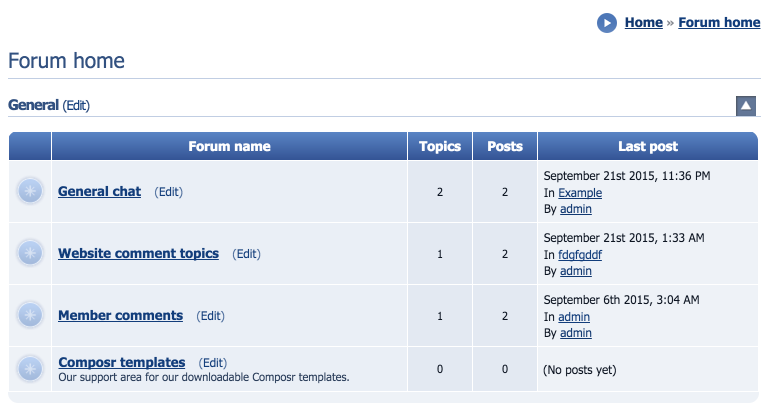
If I look at the forum, under the General section two forums have been created General chat and Website comment topics each has an edit link alongside.
Composr forum
(Click to enlarge)
Let's click on the edit link next to General chat, in your editor you will see the forum ready for editing.
Editing a Composr forum

(Click to enlarge)
I am going to add a description so users know what the forum is about and the type of posts that are expected.
Editing forum description

(Click to enlarge)
Which when saved will look like this.
Viewing edited Composr forum

(Click to enlarge)
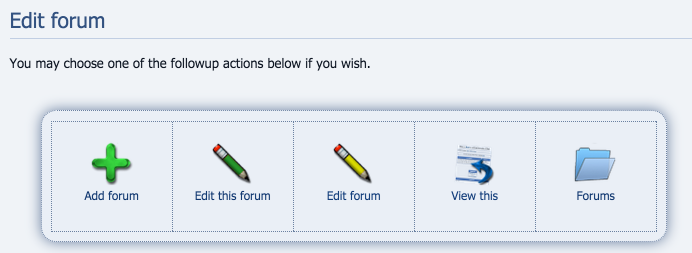
For now click to save (many of the other options will be covered in the next bit of the tutorial). Upon saving our changes you will see the Edit forum screen in your Admin Zone.
The do-next screen after doing the edit
(Click to enlarge)
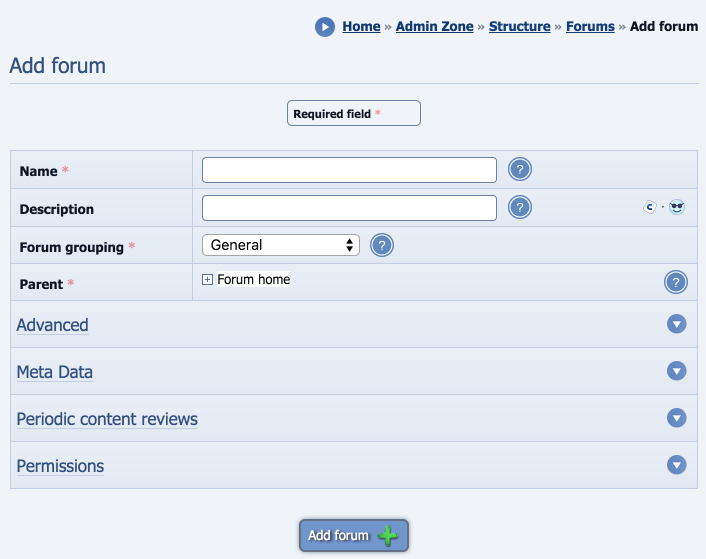
Now I want to add a new forum called Composr templates.
Click Add forum and fill in the form.
Adding a forum
(Click to enlarge)
Name
The name we want to give the forum in my case I will call it “Composr templates”Description
A short description of what the forum is about like we did before when editing General chat.Grouping
I will leave it as General, so it sits alongside the other public forums.Parent
I want the forum to be a part of the existing forum root so I will leave the Parent selection as Forum home. (We will look at Parent in more detail soon.)Setting forum parent
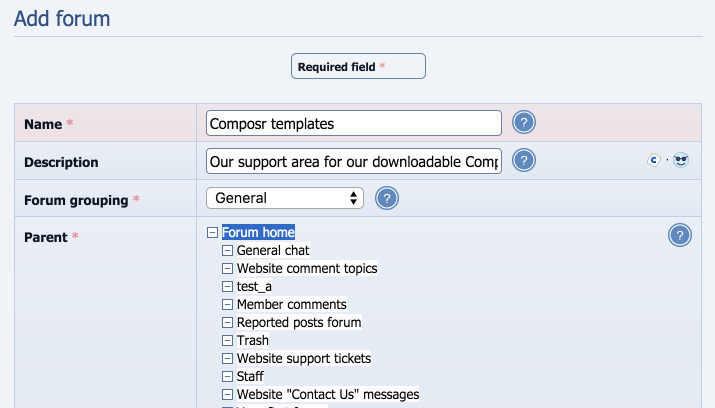
(Click to enlarge)
For now we will skip the Advanced and Permission settings but they will be covered in another tutorial.
Click Save!
So now when you view your site, you should see the changes.
Viewing our forum changes
(Click to enlarge)
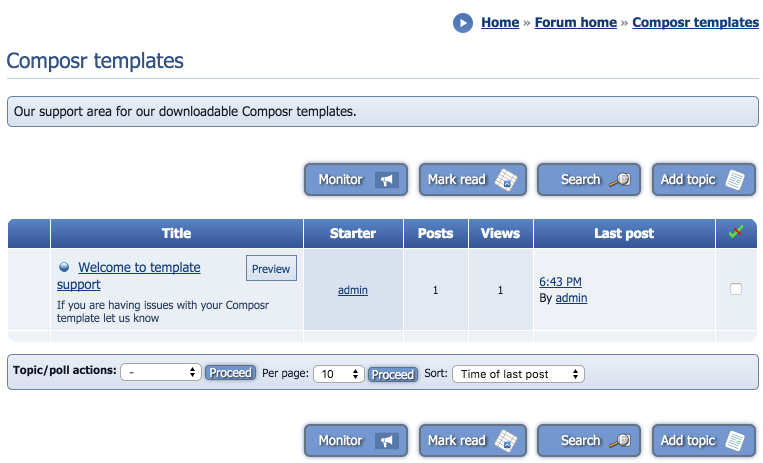
And when you click on the forum.
Look inside the forum live
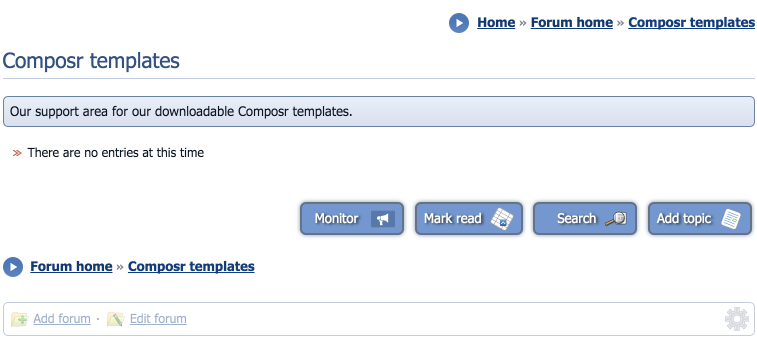
(Click to enlarge)
To test I can click on “Add topic” and create a forum post.
Add a new topic to the forum
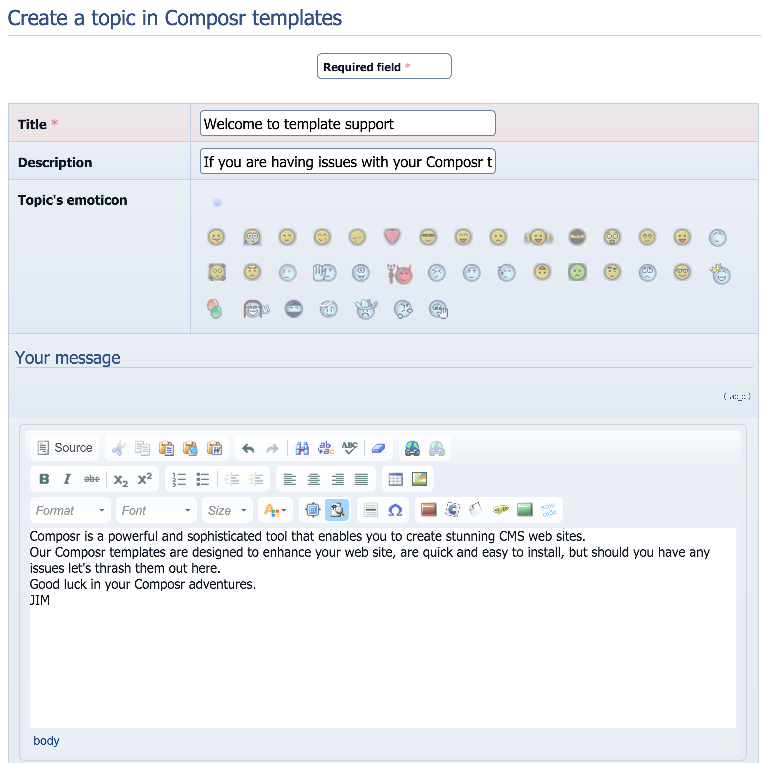
(Click to enlarge)
You can add an attachment or add pictures to your post as well as format the text and add linking too. When you have finished click the “Add topic” button
Here is the post.
Viewing your forum post
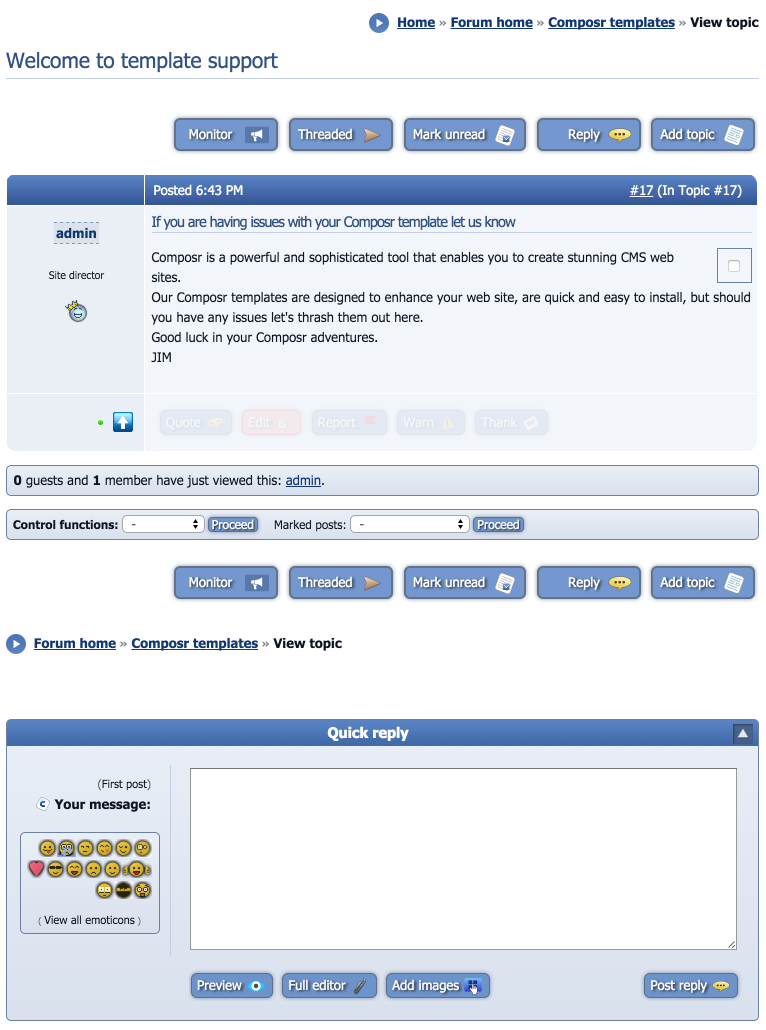
(Click to enlarge)
Overview of forum and published post
(Click to enlarge)
There is no limit to the amount of forums or sub-forums you can create but before you jump in, do consider your users and the user experience.
In my next tutorial I will add sub-forums.
Feedback
Please rate this tutorial:
Have a suggestion? Report an issue on the tracker.