
Composr Supplementary: Add a New Zone in Composr
Written by Steve Jarvis, Sponsored by Arvixe hosting
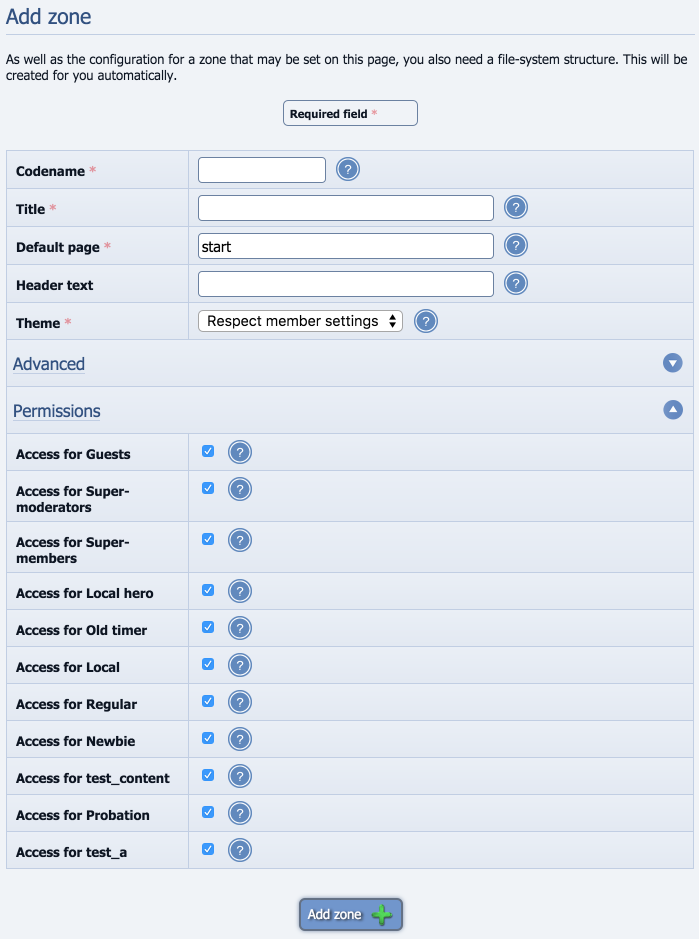
Add new zone form
(Click to enlarge)
A zone will traditionally have a URL similar to http://yourbaseurl/zone-name/start.htm if you have set up the new style Short URLS. Adding a new zone is a fairly simple process which I will show below.
Adding a new zone step by step process
Here is the step by step process of adding a new zone followed by a look at the adding a new zone form in more detail.- Go to the Admin Zone
- Navigate to the Structure section of the Admin Zone menu
- Choose the Zones icon
- Choose the Add zone icon
- Fill in the form (which I will go through in detail below)
- Click the Add zone button
Important! – Remember if you have set up the "Use .htm to identify CMS pages" URL scheme for your Composr site you will need to make sure you follow the process detailed in the URL Schemes in Composr tutorial or your new zone will not work. Read the URL Schemes in Composr tutorial before going any further with this process.
The adding a new zone form in detail
The adding a new zone form is split into three sections which are a zone which deals with the general details of the zone, an advanced options section and a section which deals with the permissions of the zone.The main section
The first section of the form is where you will fill in the main details of your new zone. The options in this section are…Codename – The codename of the zone is the code which Composr will reference your new zone and this should not have any spaces. As a general SEO rule if you are using multiple words they should be separated by a hyphen instead of an underscore as some people say Google understands hyphens as space and doesn't with underscores (debatable, but it looks nicer too!). The codename will also be used as part of your URL for your new zone so a zone with a codename of "zone-a" would have a URL such as http://yourbaseurl/zone-a.
Title – this is the title which will be used for the new zone
Default page – This will be set as default to start which means the starting page will be named start. You can set this to whatever you want but I recommend sticking with start or using index but which ever you choose you should try to stick to the same system for all of your site zones unless you have good reason to do otherwise.
Header text – this is some text which will be appended as a slogan to all new pages in the new zone.
Theme – This option allows you to set the theme which is displayed in this zone. This is useful if you have a slightly tweaked theme for each section. For example you may have a custom background for each zone related to the main subject of the zone.
Advanced section
This section only has one option which is a checkbox. This option allows you to designate the zone as including sensitive information. If you choose to activate this option it will force a user to re-log in or confirm their details when attempting to access the zone. As an example the Admin Zone makes use of this feature.Permissions section
The final part of the form deals with the permissions for the zone and whether members of each usergroup can see and have access to the zone. You may choose to set up a member's only zone which has the access limited to it for most usergroups. If this is the case you can simply untick (uncheck) the usergroups which you do not want to be able to access the new zone.Feedback
Please rate this tutorial:
Have a suggestion? Report an issue on the tracker.